When your sandal strap breaks
The width and thickness of the straps for your LotR sandals are based upon your weight and stature. Some people have more sensitive feet and breaking-in the straps can be an ordeal. My dimensional choices must afford a combination of strength and comfort, hence the continuous long strap becomes the part of your sandals most likely to finally wear out or break.
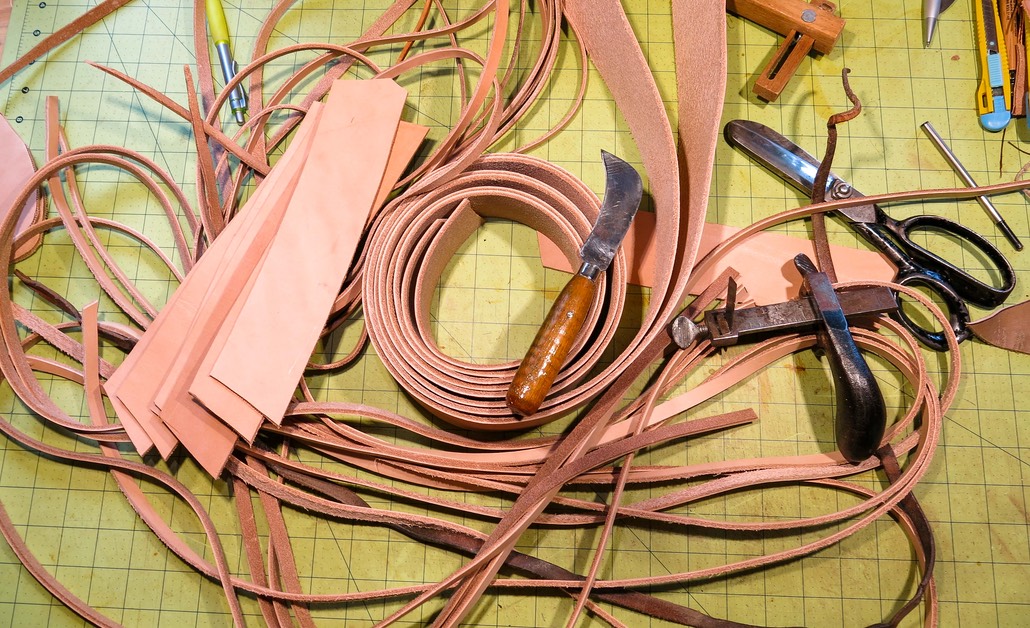
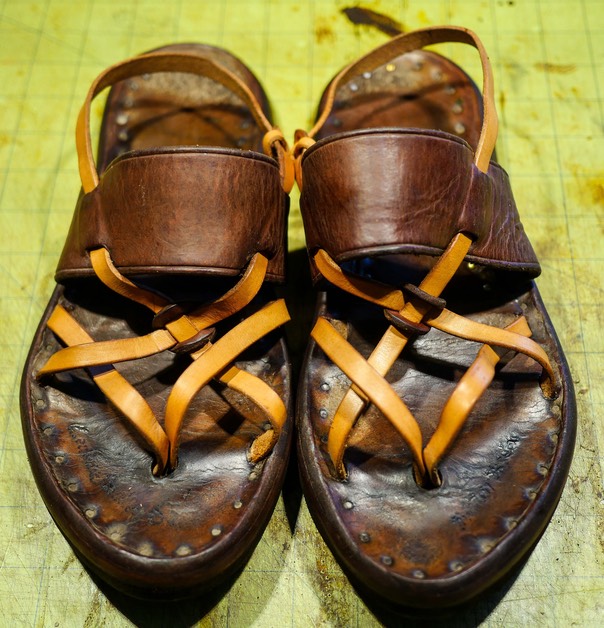
Oak-tanned bridle cowhide straps for the LotR
That
strap has to enter and exit the insole through 5 slots, every one a
point of transition, the most vulnerable parts of a sandal design.
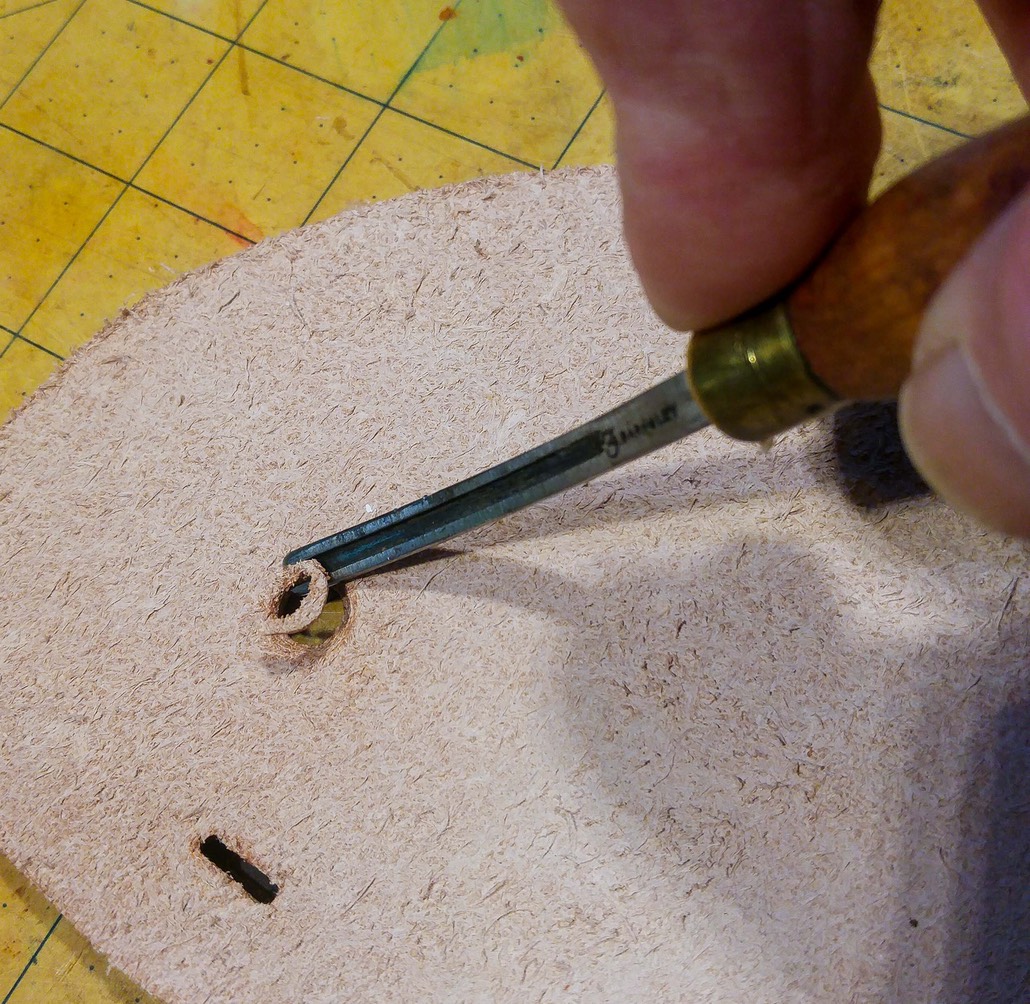
Coarse flesh-side of cowhide can abrade the straps
I
chamfered & lubricated the edges of your slots to help in those
transitions, and the channels that go under your foot have been waxed
to allow the straps to slide easily when you are breaking them in. This also makes replacement less difficult.
Parafin makes the slots slippery for smooth
adjustments of the long continuous strap
You were advised to keep your sandals saddle-soaped and clean in order to lengthen the life of the oak-tanned bridle cowhide, but a ten-year guarantee is a lot of time under-foot, and qualities that make vegetable-tanned cowhide malleable and accommodating to your feet also allow it to deteriorate if it isn't given care. You may never have saddle-soaped your sandals nor cleaned-out the channels that the straps pass through, or you may have been diligent in doing that regularly. Longevity of the materials consequently varies.
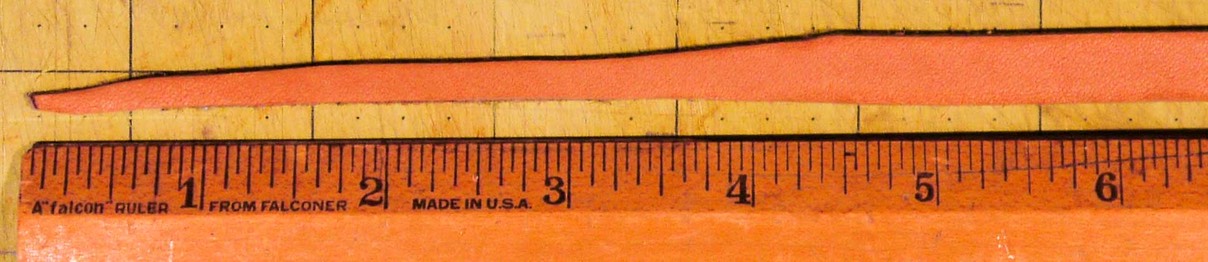
If you can't bring or mail your sandals to me for repairs, I will need at least your old broken strap(s) so that I can copy their broken-in length and width and replace them. One is usually enough unless your feet are of wildly-different sizes. New straps weigh approximately 26 grams each, less than an ounce, and can be mailed in an ordinary envelope with
postage for 2 ounces.
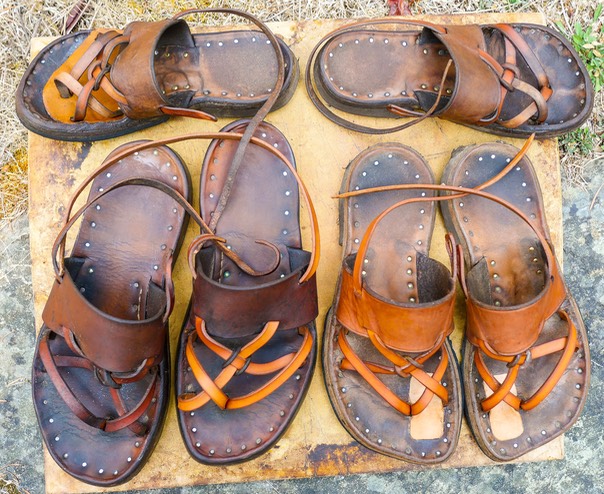
Replacement straps and insole patches from high-usage wear after 7 years. Properly maintained sandals will be brought back to life for 10 years.
Your replacement straps will take a while to darken like the rest of your sandals.
I'll return to you new straps that have been saddle-soaped and edges burnished and dubbin rubbed into them in a slow and careful process that no machine can duplicate, nor could the common chrome-tanned leather used in all commercial sandals conform to your feet or age as handsomely as yours will.
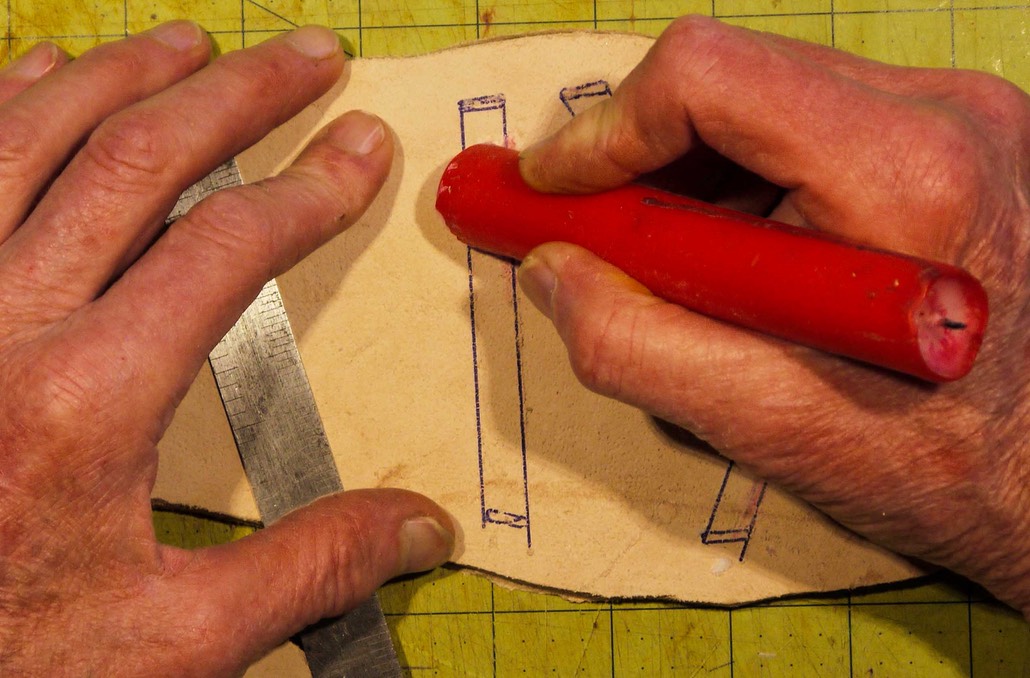
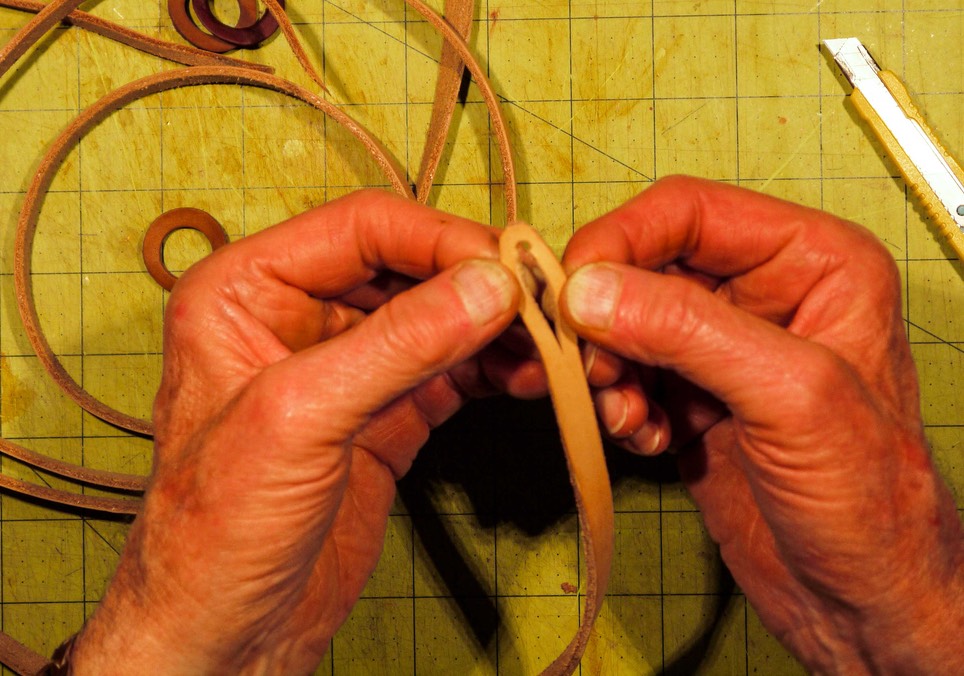
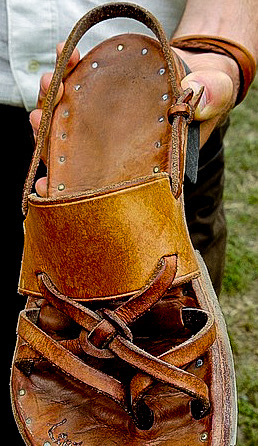
Guiding new straps through the insoles
I'll
use your returned strap(s) as a guide but because the more narrow a
strap is the more it will stretch, you will have to break-in the
replacements and take up slack as they stretch to fit your feet. It
could take a few or many wearings to do that. You may want to use a sharp knife or razor blade on a cutting block or piece of wood to extend the taper once the straps have stretched enough, so that the knot is smaller and more elegant. But be sure and retain the full width of the strap where it will go around the back of your foot.
I've left one end with a long taper or "tail" to help ease the reinstallation; you will later cut it to length. You will have to make adjustments and trim the ends as you break them in, but do so cautiously, and always leave at least 1 1/4" of the tail hanging down after tying the recommended modified-sheet bend knot that I showed you how to tie at your fitting. (See also below) Cut it off too short, and you will no longer be able to tie that knot. It should be just short enough so that you don't walk on the tail.
It is best for you to leave the old strap in one sandal and use it as a visual pattern while you rethread the other one. You can work from a website photo to rethread them but be assured it is much simpler to copy directly (but in a reversed-pattern, to keep the pair bilaterally-symmetrical, as are our bodies) using your own sandal. You can also copy the shape of the new strap to make it easier to get your foot into it at the end of the process.
Start by blowing-out the empty channels to get rid of any abrasive dirt or sand that has built up in them. Canned-air works well for this, or just use your own wind. If you have been saddle-soaping as I've advised, those channels should have been kept somewhat clean. Then, pushing the tapered end into the first channel, work it through and up the other side. A hemostat is my tool of choice here, but a needle nose pliers will work. Keep feeding the long taper through the channels, being careful to match the layering-order of the sandal you have left laced, for symmetry.
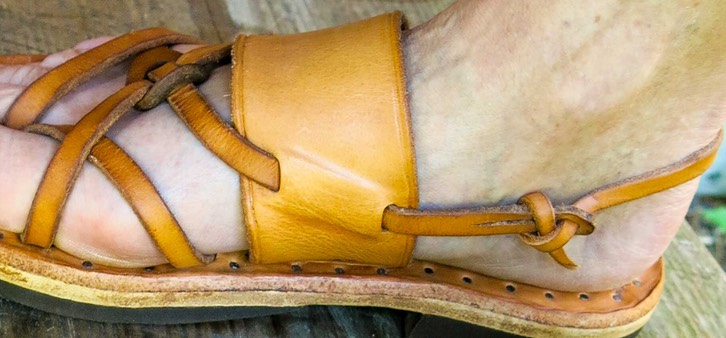
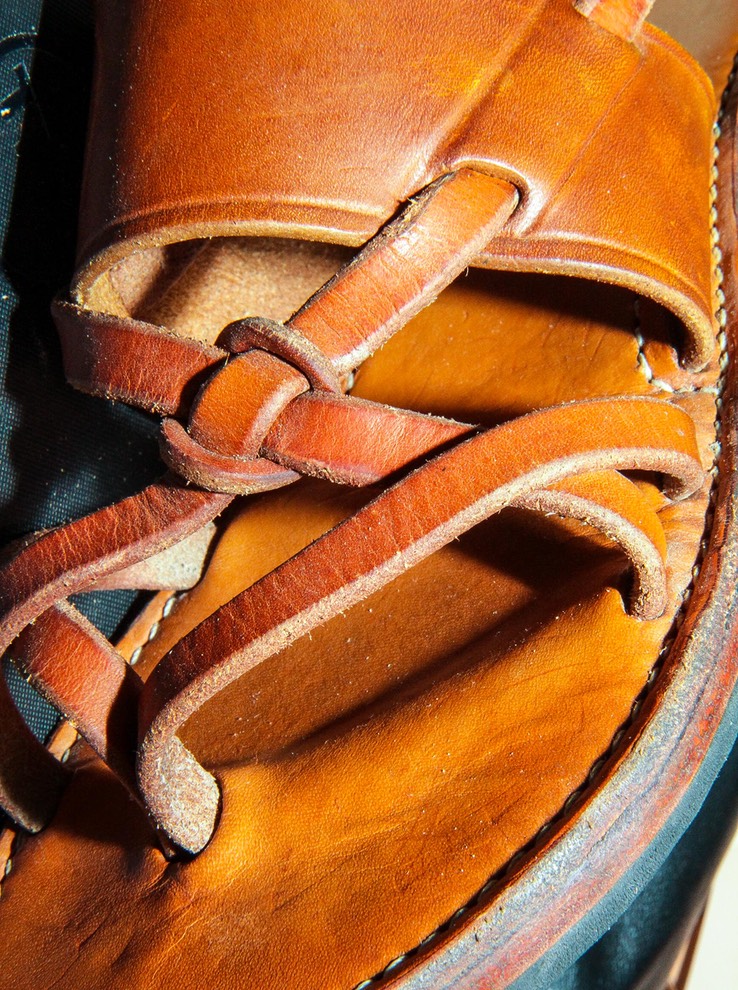
Begin lacing-in new strap here
You may find it to be counterintuitive but the
"eye" of the strap, the slotted opposite end from the "tail",
should begin about an inch in front of your inside ankle bone.
This is a part
of your foot anatomy free of bones or protuberances and is your starting point.
That slotted end should begin an inch or two past the corresponding rear slot on the arch strap and approximately beneath the ankle bone.
When you have followed the pattern from your other sandal or from the illustration above, the tail will complete the modified sheet bend knot at the eye, allowing you to comfortably sit cross-legged in these sandals. That taper should begin just past the heal, so that the heal has the benefit of the full-width strap, wider and less likely to cut into the heel. Only the knot itself requires the thinner part of the strap; it helps to make a smaller knot. Don’t try to tie it while the sandal is on your foot; it is much easier to tie the knot when it is off your foot.
Once the new strap is broken-in you will be able to sit that way, with one foot on the other knee, and even make
adjustments to the knot in that position, although I find it easier to loosen or
tighten mine when they are not on my feet.
Continue copying the sandal with the old strap still in it until you have gone around your heal and reached the strap eye in front of your anklebone. Then pull the sandal on and adjust the strap to your foot as you do so.
Most important: you should always be able to get two fingers between your foot and any part of the strap. Any tighter and you will suffer needless discomfort. Stretching-to-fit is a slow process and can't be rushed. Ultimately you should be able to slide your feet into the sandals with ease, as they have shaped to your feet.
You can use the sandal with the new strap as a model if you are replacing both straps, and follow the procedure on the other sandal.
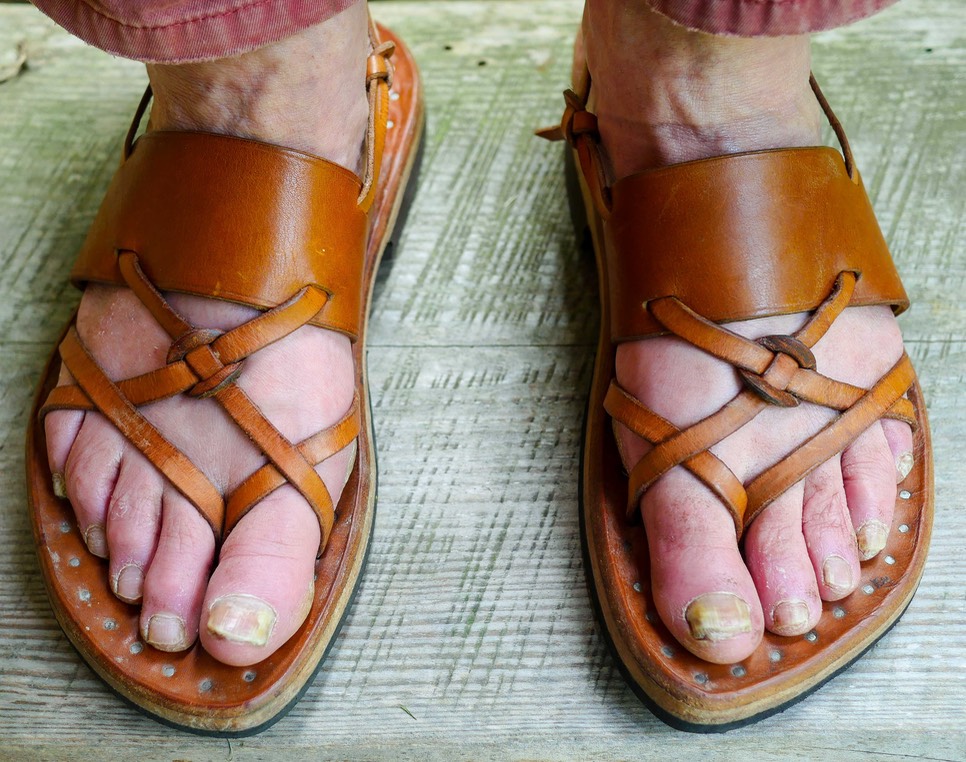
You may find fitting them to your feet is easier if you have assistance. Ask your helper to move the straps around until they fit loosely and evenly. Mark the strap just forward of the back of your foot and taper it forward from there, as the old one was tapered. Leave the tapered strip long until you have tried it out in the sheet bend knot and only then should you trim it leaving a 1+ inch “tail". As you wear them the strap will stretch and the tail will get longer, perhaps getting under-foot, requiring shortening. Keep it trimmed and you may later have to trim another taper starting just forward of the back of your foot, or bring them to me and I’ll do it when I do your free servicing for life. I can check them then for loose clincher nails, wear on the half-soles and heels, etc.
If you are irritated by the doubled-strap between your toes, loosen them and rub some saddle soap from a wet sponge or coarse cloth well-into the leather just before you go for a short walk. Repeat this procedure giving your feet a day or two to recover, if necessary.
Don't be a hero: short walks work best. If they hurt, take a break. Stretching the cowhide can't be rushed. The day you go for a walk and don't notice that you are wearing sandals the new straps may be considered broken-in. Have faith, take heart: it will happen. And you will get a full decade or more of wear from your Leathersmithe sandals.
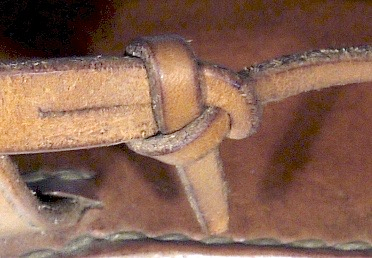
Sheet bend knot - learn to tie it!